
If you're a novice, you might be wondering how you can add texture to your woodturning projects. Ernie Conover will show you how it's done. Textures can be natural patterns used to embellish objects in many different ways. Adding them to your turning projects will add personality and style. Whether you're making a salt and pepper shaker, a bottle stopper, or a stacked ring bowl, there are many ways to add texture to your project.
Make a rolling-pin
Perhaps you have been interested in woodturning and wondered how to make your own rolling pin. Wood rolling pins tend to be long and made from quality wood. You can use any type of hardwood depending on how long the pin is. However, hard maple, cherry or apple wood are the best for rolling pins. Ash, ash, or another similar hardwood, is also an option. There are also cheaper versions that can be made out of soft maple and/or birch. But it is crucial to select the right type of wood for the task.
To begin, measure the diameter of the handle and the diameter of the rolling pin. You can measure the diameter with the Parting Tool. The Roughing Gouge is used to trim the handle down to the desired length. Once you have sized the diameter, you can use the Bowl Gouge for making the curves on the rolling pin. This will allow to you to thread the pin. Once the rolling pin is ready, apply a food-safe finish and let it dry for 15 minutes.
Make a salt-and pepper shaker
There are many options for making these useful utensils, whether you're looking to give a gift that's unique or to keep in your home. A mason jar, for example, can be used to create a beautiful salt-and-pepper shaker. Using a small nail and hammer, lightly punch holes along the letters. A cork can be placed through the holes, leaving 5/8-inch wood at the end. Add salt and pepper to the shaker and you can enjoy your creation.
A collection of Coca-Cola cans might be lying around that isn't being used. These bottles can be recycled to make a salt-and-pepper shaker. To make the lines of the bottle clearer, you can either use tape or paint it with metallic leaf paint for a simple detail. You can also use any colour all-surface paint.
Make a bottle-stopper
A bottle stopper can be made in a few simple steps. Mounting the blank between two points is the first step. This creates a collet that can be mounted in the chuck. You will then turn the piece to create the desired shape. Then, you'll turn a threaded piece to attach the decorative turned portion to the bottle. There are many sizes of threaded post options.
It is crucial to select the right type of wood before you begin the process. Blanks are available at craft stores. You can buy blanks at a craft shop. If you plan to cut your own wood, make sure the pieces are straight and square. The wood you purchase from a shop may need to be squared up. Otherwise, use a chop saw or tablesaw instead. You can clamp an odd-shaped piece to make it square. Finally, sand the stopper with a fine-grit sandpaper to make the finish smooth and even.
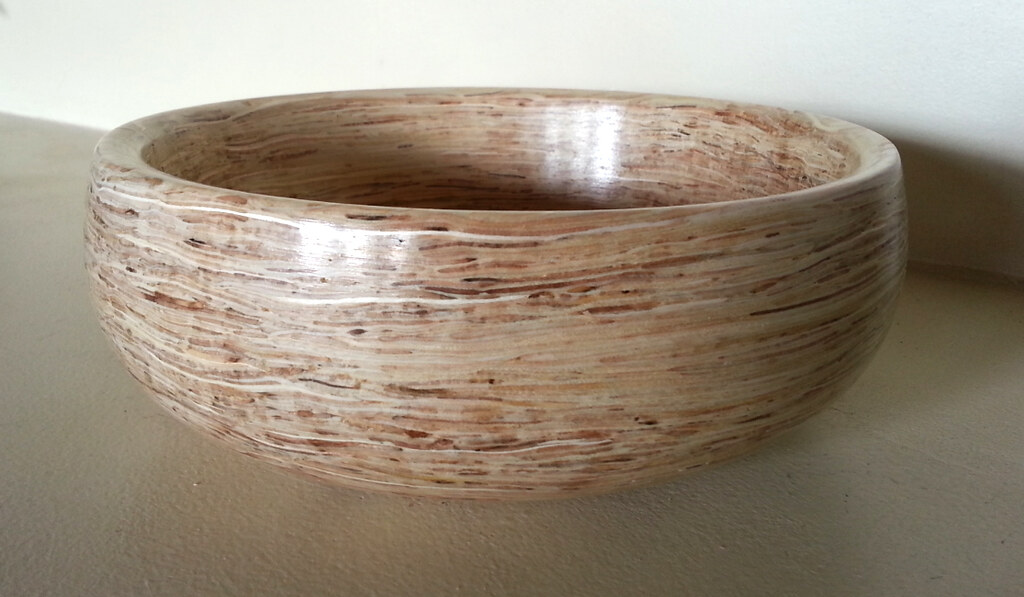
How to make a stacked bowl ring.
If you are making a stacked rings bowl for woodworking, it is possible to create a large bowl from two or more flat board pieces by creating concentric rings out of them. The rings should be glued together with a dovetail joint. The boards should measure five inches wide by one inch thick. The faces of the boards have been joined and the joining edges have been planed.

You can easily cut a segmented round bowl with a jig and trammel. The board thickness will determine how many layers are needed to reach the desired height. The minimum thickness for the board is one inch. Preferably, it should not be thinner than 5/8 or 3/4 inches. To mark the band saw lines, you can use a trammel or circle-drawing tool.
FAQ
Do I have to refinish my furniture?
Yes! You don't have to hire a professional to refinish furniture. There are many ways you can do it yourself. Here are a few ideas:
Sandpaper can be used to remove stains and scratches. Use a clean cloth to wipe the surface.
Clear polyurethane varnish should be applied. Allow furniture to dry completely before you move it around.
Use acrylic paint to paint furniture.
Instead of painting, use stain. You can give your furniture a rich appearance with stain.
Use shellac wax. You can protect your wood with wax and give it shine.
Which material would you recommend for woodworking lessons?
Start with softwoods such as pine and poplar. These two are the easiest to master, then you can transition to hardwood.
How often do I need to buy new supplies
You will likely need to replace some tools over time. If you're using hand tools, you'll need to sharpen them regularly. And if you're using power tools, you'll need replacement parts periodically. Spread your purchases over several months to avoid purchasing too many items at once.
Statistics
- Most woodworkers agree that lumber moisture needs to be under 10% for building furniture. (woodandshop.com)
- Woodworkers on the lower end of that spectrum, the bottom 10% to be exact, make roughly $24,000 a year, while the top 10% makes $108,000. (zippia.com)
- The U.S. Bureau of Labor Statistics (BLS) estimates that the number of jobs for woodworkers will decline by 4% between 2019 and 2029. (indeed.com)
- Average lumber prices rose about 600 percent between April 2020 and May 2021. (familyhandyman.com)
External Links
How To
How to join wood without using nails
Woodworking is a hobby that many people enjoy doing. Woodworking is a relaxing hobby that allows you to use your hands to create useful things from wood. You might want to join two pieces from the same wood, but you don't need to use nails. This article will show you how to do it to make your woodwork projects look great.
First, remove any sharp edges from the wood pieces before you join them. Do not leave any sharp corners as they could cause problems down in the future. Now it's time to start glueing your boards together.
You should only glue one side of hardwood. For softwoods like cedar and pine, glue should be applied to both sides. Once the glue has dried, press the boards together until they are fully adhered. Make sure you let the glue dry before moving on to the next step.
After you glue your boards together, drill holes at the joints where screws will be inserted. Depending on what type screw you choose, the size of these holes will depend on how big they are. For example, if you're going to use a 1/2-inch wood screw, then you should drill a hole that is at least 3/4 inches deep.
Once you've drilled your holes, you'll want to drive the screws through the joint and into the backside of the board. You should be careful not to touch the board's front surface. This could cause damage. Don't drive the screws too far into the end. This will prevent splitting in the end grain of the wood.
Once your project is complete, it's time to protect it against the elements. To do this, you can seal the entire furniture piece or just cover the top. It doesn't matter what method you use, you want something that will last many years. Some examples include oil-based varnishes, polyurethane, shellac, lacquer, etc.
These products can be found in most home improvement shops. You should make sure you are getting the right type for the job. Also, remember that some finishes are toxic and should never be used indoors. When handling certain finishes, wear protective gear.