You have a wide range of tools that you can use to turn your workbench. These tools include the Bowl gouge, Spindle roughing tooluge, and Faceplate gouge. Some tools are designed to be used on specific types of wood like walnut, oak or other soft woods. These are some helpful tips to help you choose the right tools. Below are the most popular types of turning tools. Weigh your options carefully and make a decision based on your budget.
Turning faceplate
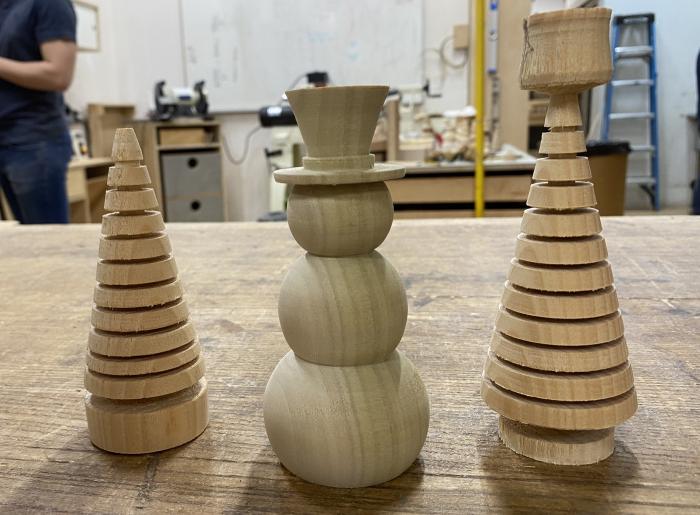
Faceplates can be used to woodwork. These faceplates may be simple or more complex. Here are some examples. The trophy base is straight while the rosette uses deeper beads with coves. Both require great attention to detail. Read on to learn the basics of faceplate-turning.
The angle at the which a tool presents itself on the work will impact the cut. The cleaner the cut, the greater the shear angle. A square tool might be able to cut the wood. However, a 45-degree angle will create a smoother finish. A 45-degree angle gives the wood a more smooth finish and makes it easier to cut. Use a saw or a sharpening knife to enhance the look of your cut.
Spindle roughing hammer
A spindle roughing gouge is used for aggressively reducing square or rectangular spindle blanks into round cylinders. Unlike the skew chisel, the spindle roughing gouge should not be used to turn bowls. Its cutting edge digs into the end grain. It can still be used for cross-grain tasks, such as turning bottle stopspers.
Avoid cutting across the grain when using a spindle roughing tool. This tool has a 45 degree geometry, so it is not recommended that you cut across the grain. Also, the tool size and flute shape can cause trouble. If you are a skilled woodworker, this tool is not recommended. Here are some tips that will help you, no matter if you are a beginner or an experienced woodworker.
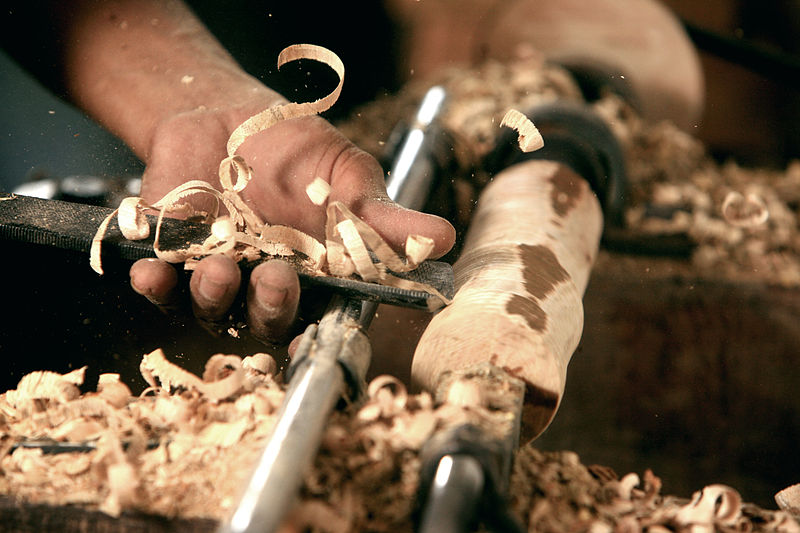
First, make sure to use the correct angle. Make sure you use the correct angle when using a spindle roughing saw. You can wipe any dust off your index finger while you're cutting. Next, ensure your cutting edge is in contact the wood. The cutting edge will leave behind shavings, which are a sign of the proper position. After the wood has been cut you can move on to step 2.
Bowl gouge
A bowl gouge can be used to remove material from the bowl's interior. This tool features a brass ferrule and is made from high speed steel. It is necessary to adjust the tool's rest height to match the bowl shape before you can use a bowl-gouge. Then, swing the gouge handle forward and backward until it reaches the desired depth and width.
There are many sizes and shapes of a bowl gouge. For beginners, a bowl gouge with a diameter of about 1/2" is the best. For finishing cuts, a 3/4" or larger bowl gouge is best for beginners. A larger diameter gouge can work large bowls and be used as an auxiliary tool. Different sizes of gouges will have different grind profiles. The area around the bevel that forms the cutting edge of a gouge is called its "cutting edge". It is easy to test its sharpness with a finger.
Skew chisel

First, learn the basics of how to use a skew-chisel to turn wood. Before you can cut with the skew chisel, it is essential to understand how to do both shallow and long taper cuts. The heel of the edge of the skew should be used to adjust the angle between the spindle and the chisel. A 20-30 degree skew angle is ideal for planing and V-cutting, as well as forming beads.
Using a skew chisel for turning wood will enable you to cut V-grooves with the tool in a fast and clean manner. To begin, position the toolrest high. Next, use the long end of the tool to mark the V-groove's centerline. Next, lift the handle to create a deeper groove. Then alternate between cutting to the right or left until you get the desired groove depth. Once you're satisfied with the cut, take the skew’s bevel and roll it away.
FAQ
What is the main difference between plywood or particle board?
Plywood consists of layers made from wood and pressed together by pressure. Plywood can be cut to different thicknesses. It's commonly used as flooring and cabinets. Particle board consists of sawdust mixed and resin. The resin is then compressed into large blocks. It's often used for home renovation projects. Both types of boards are durable and easy to cut.
How can you calculate the woodworking price?
Remember to keep costs as low as you can when calculating project costs. Make sure you're getting the best prices on materials. It's also worth taking into account all the other factors that may affect the cost of your projects, such as time, skill level, and experience. Check out our guide on the average cost of common DIY projects to get an idea of how much you can spend on woodwork projects.
Where can I buy woodworking supplies?
There are many places you can get everything you need, and you don't have to go far. You can visit your local hardware stores, or you can look online at sites like Amazon.com.
You can also search flea and garage sales for furniture and other materials that can be reused.
Statistics
- The best-paid 10 percent make $76,000, while the lowest-paid 10 percent make $34,000. (zippia.com)
- Average lumber prices rose about 600 percent between April 2020 and May 2021. (familyhandyman.com)
- Most woodworkers agree that lumber moisture needs to be under 10% for building furniture. (woodandshop.com)
- The U.S. Bureau of Labor Statistics (BLS) estimates that the number of jobs for woodworkers will decline by 4% between 2019 and 2029. (indeed.com)
External Links
How To
How to make wooden joints
This tutorial will teach you how to join two pieces wood together. We will be using the "pocket-hole joint", which involves drilling holes in wood and then gluing them together. This method works great if your wood is straight and smooth. Try dowel joinery instead if your wood doesn't look straight. Here are the steps
-
Drill Pocket Hole Joints. To start, measure and mark where you want to put the pocket hole joint. Next, drill 3/4 inch holes in each end of each piece using a handheld drilling machine or jigsaw.
-
Sand Smooth. Sanding the wood's edges will help ensure that the joint won't split later.
-
Glue the two sides of the wood together. Apply glue to the sides of both wood. Allow it to sit for approximately 5 minutes before you clamp the pieces together.
-
Connect the pieces. Once the glue has dried, clamp the pieces together so they are flush.
-
Trim Joinery. Trim any excess wood surrounding the joint once the glue has dried completely.
You should leave enough space between the pieces to allow you to turn them inside-out.