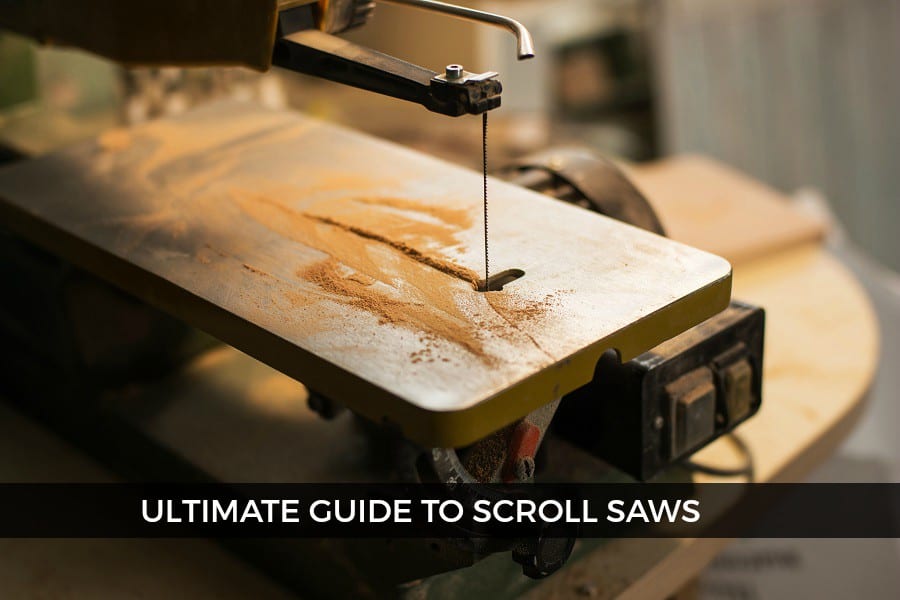
Problems with the scroll saw's tension? You aren't the only one. Many people struggle to determine the right blade tension for their scroll saw's flower patterns. This article will provide information on blade tension, stacking and the Workpiece footlock. Also, how to identify each part of your scroll saw. You'll be able to identify each component of the scroll saw and adjust the tension to create flower patterns by the end.
Adjusting the blade tension to create scroll saw flower designs
It is important to choose the correct blade for your scroll saw and adjust the tension. The scroll saw may not work properly if these two elements are not correctly adjusted. The blade may be in any style, but the tension setting should match the design. Scroll saw manufacturers often have their own ways to adjust the tension. For the best instructions, consult your manual. Here are some helpful tips.
First, ensure the table is square to the blade. This can be done using a small square and a protractor. Your scroll saw's tilt will also not be accurate. Therefore, it is necessary to periodically check them. Once you have established the blade-tension, it is possible to cut flower patterns. Make sure the blades don't get too tight or loose.
Stack cutting
You can create a scrollsaw flower pattern by stacking pieces of wood together. Then, use double-sided tape to hold the pieces together. Scrollers may use small nails or toothpicks for securing their stacks. Staples or old circular-saw blades can also be used to bind the layers. This will stop the layers from shifting. After each layer has been attached, you can start cutting.
Magnification allows for more precise cuts. A magnifying mirror mounted on the scrollsaw, or a tool lens, is useful. You can also purchase a magnifying LED lamp to brighten your work space. Some work lights are equipped with a magnetic clamping base which makes it easier and more convenient to move your work area. There are many types of scroll saws available. You can choose the one that best suits your needs.
Locking workpiece foot

There are many choices when it comes choosing the right dropfoot for your scrollsaw. The foot should rest on the workpiece and not drag. After making adjustments, be sure to tighten the footlock on your workpiece. Next, adjust the speed knob to the desired setting. This will depend on what material you are cutting, how thick and how many of the teeth your blade has. Last, make sure the workpiece is secure in the dropfoot.
Scroll saws aren't the best tool for every job. They are specialized tools designed for certain tasks. The workpiece foot lock is necessary to prevent the wood from moving during the cutting of a floral pattern. This will prevent your workpiece from moving as you cut. You should also consider how much weight you intend to use for the cut. You may need a larger knife if your goal is to cut large flowers.
Identifying the parts of a scroll saw
Scroll saws can be classified by their throat size. This is the distance between blade and rear frame. The throat size determines the maximum size of wood that can cut. Larger industrial saws have deeper throats, while smaller saws have shorter throats. Before computer automation, industrial saws were often used to cut larger objects. A basic scroll saw is sufficient for most home projects.
If you are not quite sure how to start a project, you can always start by downloading a free flower scroll saw pattern. These patterns include detailed instructions for how to make them. These patterns can be used to decorate your home with beautiful ornaments. They can be used in your classroom, kitchen or as decorative items. Scroll saws are great for making practical items as well. Although it can be difficult to identify each part of a scroll saw flower design, it is possible.
FAQ
How can a beginner woodworker make money?
Many people want to open an online furniture business and are learning how to build it. But if you're just getting started building furniture, there are other ways to earn money besides selling on Etsy. You could sell at craft fairs or local events. A workshop could also be offered for people who are interested to learn how they can build their own furniture. Perhaps you have some experience as a carpenter/builder and would like to offer your services, such as remodeling homes and creating custom pieces.
How do you know which tools are the best for you?
It helps to reflect on your needs and preferences before you shop for tools. Do you prefer metal or plastic handles What size of nails and screws do your hands use most? Do you prefer hand tools over power tools?
What wood items do well?
Most wooden items that are best-sellers are made from wood harvested sustainably.
Most furniture is made from oak, maple, mahogany or walnut.
These woods are extremely strong but also have beautiful colors and grain patterns. They also last for many years if cared for properly.
To protect wood furniture from moisture damage, it should be painted first. This includes all surfaces, including drawers, doors, and handles.
You want your furniture to last as long as possible so you need to choose a paint that is water resistant.
A high-quality oil-based primer should be used, followed by two coats with top coat. Depending on the amount of wear, you may need several coats.
Avoid spray cans or aerosol colors. These products have solvents that evaporate quickly, leaving behind dangerous fumes.
How can I organize my shop?
To keep your workshop tidy and organized, you should first create a place for tools storage. Your tools will stay sharp and ready to go when they are free from dust and debris. Pegboard hooks can be used to hang tools and accessories.
How much will it cost to get started?
Because every project is unique, there aren't exact numbers. Here are some factors to help you estimate how much money you will need.
-
Materials cost
-
Tools and equipment
-
The time spent on the project
-
Hourly rate
-
What is your expectation for profit?
-
Hire help
If you're just starting out, you may decide to start small by making simple items such as boxes and picture frames. As you gain more experience, you will be able tackle more complicated projects.
Statistics
- Overall employment of woodworkers is projected to grow 8 percent from 2020 to 2030, about as fast as the average for all occupations. (bls.gov)
- The best-paid 10 percent make $76,000, while the lowest-paid 10 percent make $34,000. (zippia.com)
- If your lumber isn't as dry as you would like when you purchase it (over 22% in Glen Huey's opinion…probably over 10-15% in my opinion), then it's a good idea to let it acclimate to your workshop for a couple of weeks. (woodandshop.com)
- Most woodworkers agree that lumber moisture needs to be under 10% for building furniture. (woodandshop.com)
External Links
How To
How to make wood joints
This tutorial will help you join two pieces of wooden together. The "pocket hole joint" is a method whereby we drill holes into the wood and glue them together. This works well if the wood is straight and smooth. You might consider dowel joinery if your wood isn’t straight or flat. Here are the steps
-
Drill Pocket Hole Joints. First, measure the area where you wish to place the pocket joint. With a handheld drill machine or jig saw, drill 3/4-inch deep holes in the ends of each piece.
-
Sand Smooth. Sanding the wood's edges will ensure that the joint doesn't split.
-
Glue Together Apply glue to the sides of both wood. Let it sit for about 5 minutes before clamping the pieces together.
-
Clamp the Pieces Together. Once the glue has dried, clamp the pieces together so they are flush.
-
Trim Joinery. After the glue dries completely, trim off any excess wood around the joint.
You should leave enough space between the pieces to allow you to turn them inside-out.